CDA FWV470 User Manual
Browse online or download User Manual for Ice cube makers CDA FWV470. CDA FWV470 User's Manual
- Page / 12
- Table of contents
- TROUBLESHOOTING
- BOOKMARKS
Summary of Contents
Customer Care Department • The Group Ltd. • Harby Road • Langar • Nottinghamshire • NG13 9HYT : 01949 862 012 F : 01949 862 00
Electrical informationWarning! This appliance must be earthed.The mains lead of this appliance has been fitted with a BS 1363A 13 amp fused plug. To c
Customer Care Department • The Group Ltd. • Harby Road • Langar • Nottinghamshire • NG13 9HYT : 01949 862 012 F : 01949 862 00
ImportantThe CDA Group Ltd cannot be held responsible for injuries or losses caused by incorrect use or installation of this product. Please note that
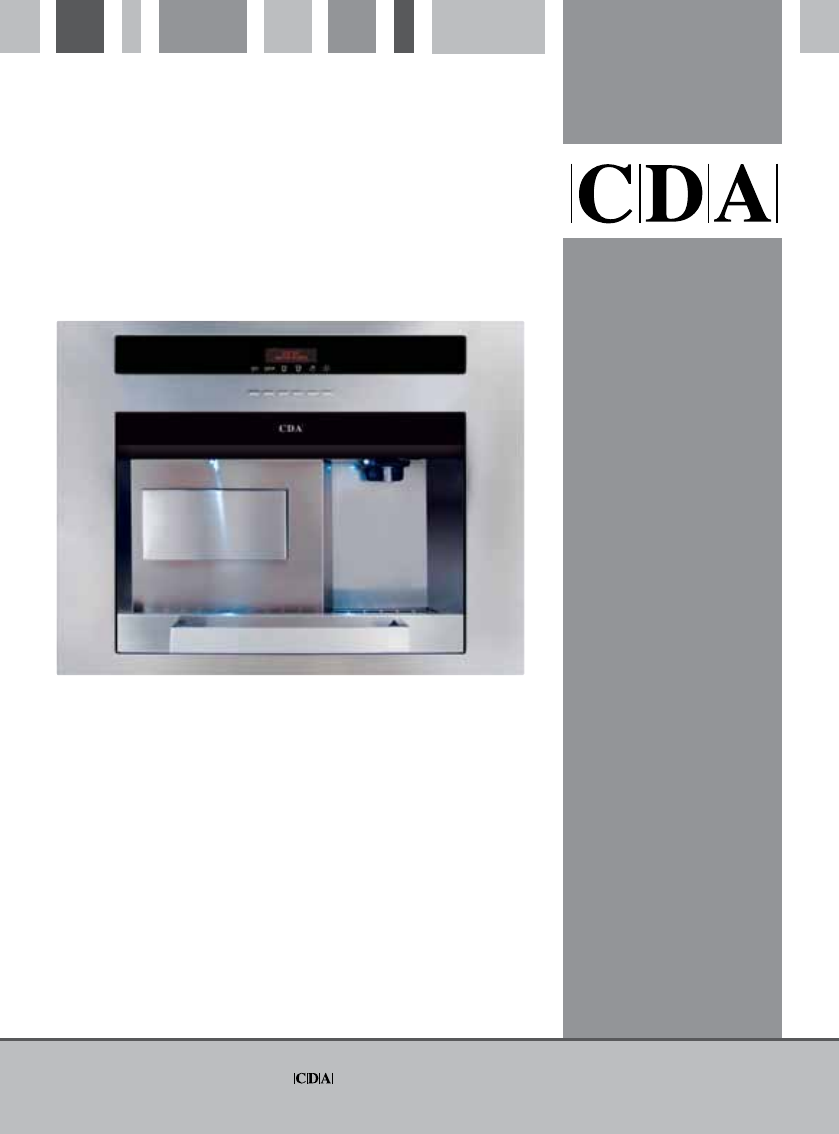
Icemaker Icemaker control panel 1. On button 2. Off button 3. Water glass button – this button dispenses a small amount of water. 4. W
The IcemakerBefore first use:1. Pull the machine out of its housing by lifting the handle of the machine and pulling it towards you.2. Turn on the ma
The IcemakerTo make iceThe icemaker will make ice automatically once it is switched on and will continue to make ice until the ice compartment is full
Care and maintenanceAlways disconnect the appliance from the power before any cleaning or maintenance.As the icemaker has a stainless steel or enamel
TroubleshootingIMPORTANT:Do not operate with a damaged cord or plug, after the appliance malfunctions or has been damaged in any way. You should con
392.5492.545843659519440450 min560min. 200cm2min. 200cm2450 min600fig. 1fig. 2InstallationIMPORTANT: THIS APPLIANCE SHOULD BE FITTED BY SUITABLY QUALIF
fig. 4 7. Connect the drain pipe as shown in fig 6 and the other end to an appropriate drain, for example a laundry standpipe or under
Related products and manuals for Ice cube makers CDA FWV470
 (12 pages)
(12 pages)
(12 pages)
© 2020, manymanuals.com. All rights reserved. | 0.336 s |
 Manymanuals.com
 Manymanuals.de
 Manymanuals.fr
 Manymanuals.it
 Manymanuals.pl
 Manymanuals.cz
 Manymanuals.es
 Manymanuals-pt.com
Comments to this Manuals